Cheap ways to plant herbs

Hi, seedlings! I hope you don’t mind me calling you seedlings, because I think it’s cute and like a young plant, I hope to raise you well with knowledge on everything you need to learn about the world of planting. Teehee.
Anyways, this blog post is going to talk about affordable ways to help you plant herbs, whilst talking about the love I have for my herb garden.
Yes, I have my own herb garden at my home in an urban area – which can be quite challenging since it’s difficult to find an enough space for gardening. But, fear not, although it’s hard, it’s not impossible – you can use your balcony, a portion of your kitchen, or as for me –the extra space in our laundry area.
However, there are important factors to consider before starting an herb garden, especially when it’s in an urban dwelling and these are the ff:
Goal. Determine your objectives for your herb garden. What do you need it for? Is it for aesthetic? Food? Or just a hobby? By knowing your goals, it would be easier for you to choose what herbs to plant.
Direct Sunlight. Choose a spot in your home that welcomes a fair amount of sunlight for your herbs. Search for the preferred temperature of your chosen herbs, online.
Space. Make sure that your selected area for herb garden is enough to accommodate the herbs you’re planning to plant.
Pots and Soil. It doesn’t necessarily have to be pots and soil; you can explore creative ways to use recyclables such as used cans or even plastic bottles to serve as your planters and used ground coffee as your soil – which I’ll share with you later. Keep reading.
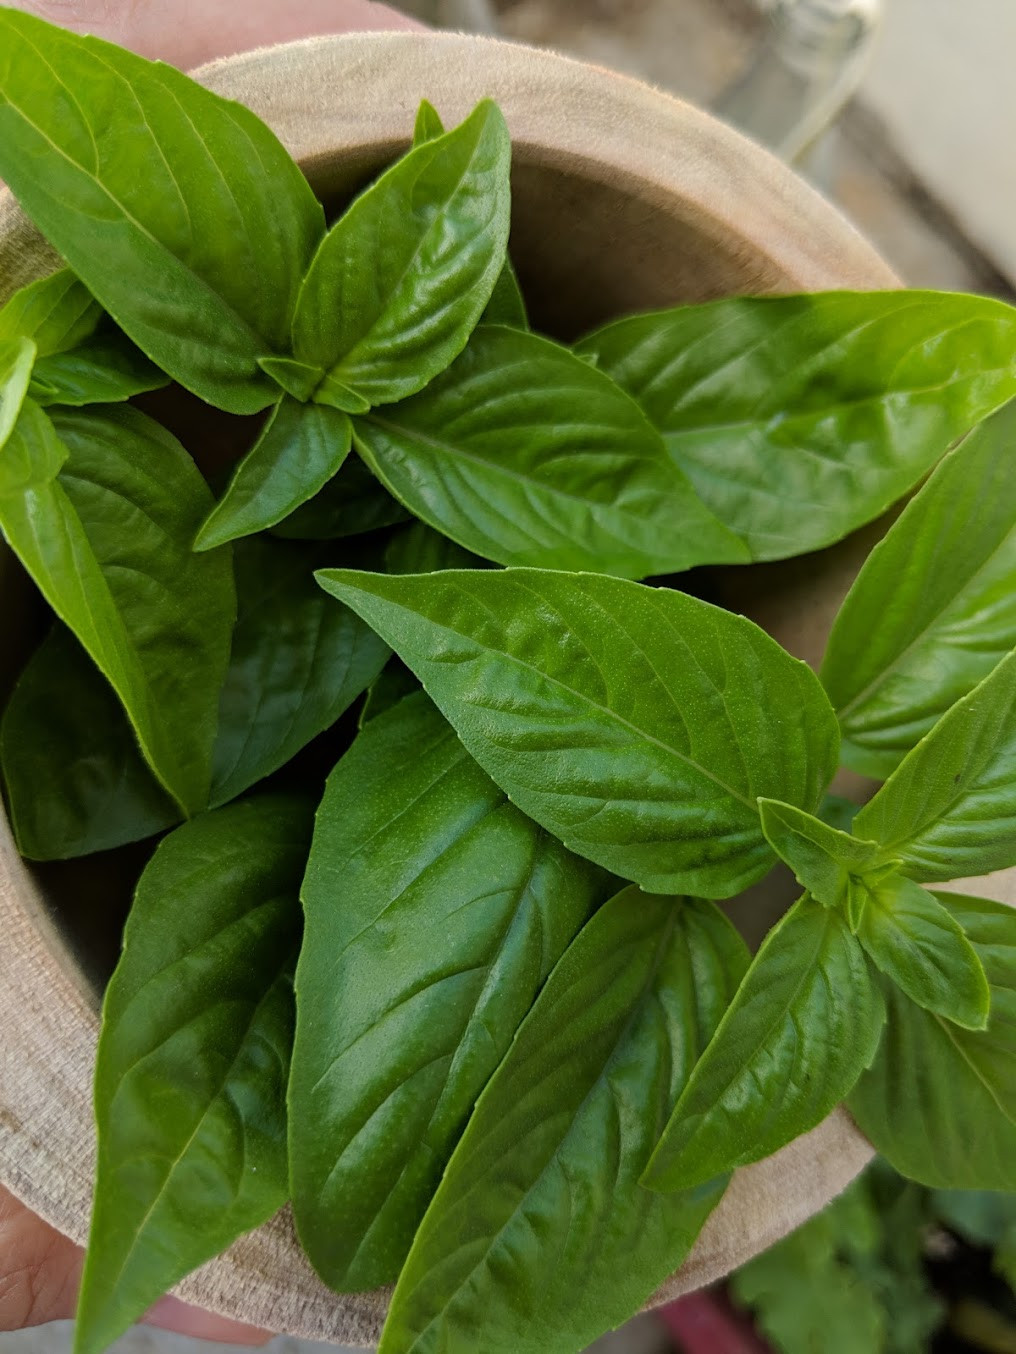
Now that you know the crucial things to consider in herb gardening, let’s proceed with the cheap yet effective ways to plant herbs. First off, my example type of herb in this blog post is going to be Basil – which I started planting over a year ago. When it comes to planting Basil and other herbs with different varieties, it is important to know their qualities – this way it would be easier for you to decide what types of it are you going to need. In my case, I chose sweet basil(Ocimum basilicum).
Sweet basil is one of the known ingredients in most of the seasonings that you can find in your kitchen. It is also one of the main ingredients of my favorite pesto, which is why I’ve chosen to grow this in my garden and why I’m using it as an example here in my blog.
So, here’s to share with you how I planted sweet basil without spending so much:
First Step: Buy Sweet Basil Seeds (PHP 68.00 = $1.34)
Basil seeds are so cheap than full-grown basil plants in the market. So, growing your own basils is less expensive and more practical. They are also fast-growing herbs; They can germinate in a span of 8 days after being planted, which means if you’re an impatient person, this is the best herb for you.
Second Step: Find Cheap Alternatives for Soil and Pots
Soil costs about PHP 10.00 or $0.20 per 3kgs in the market, while pots’ price vary on its size, – smallest size is about PHP 15.00 or $0.30 each. If you don’t want to spend on soil and pots, you can utilize used coffee grounds for soil and empty cans/plastic bottles and cups for pots.
Third Step: Plant The Sweet Basil Seeds
In planting the sweet basil seeds, make sure to fill with soil/coffee grounds at least half of your pot/recyclable container. Next, wet the soil/coffee grounds with water then put the seeds at the top of the soil/coffee grounds. Cover your seeds with another layer of soil/coffee grounds then spray the soil again with water. Lastly, shroud the pot/container with any lid cover – this will help fasten the germination of the seeds.
Fourth Step: Spray the Seeds with Water Every Day
Make sure to spray the seeds at least twice a day, every day.
Fifth Step: Wait for the Sprouts
When the seeds start sprouting, you can already remove the lid cover. Then continue to spray the sprouts at least twice a day, every day, until it becomes a full-grown herb plant.
Sixth Step: Check for the Nodes
Nodes are part of the plant stem where leaves emerge. Once, the herb develops these nodes, this indicates that it is ready for harvesting.
Last Step: Harvest
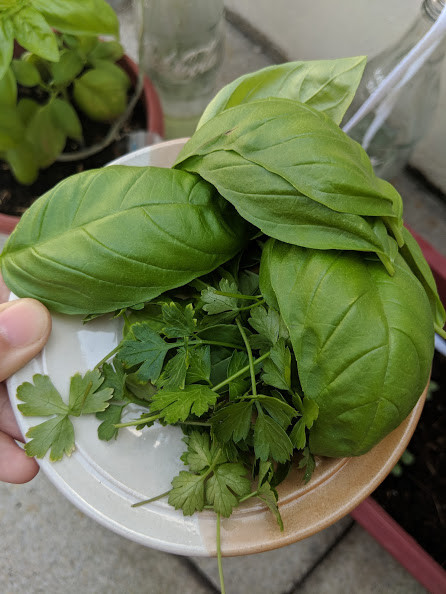
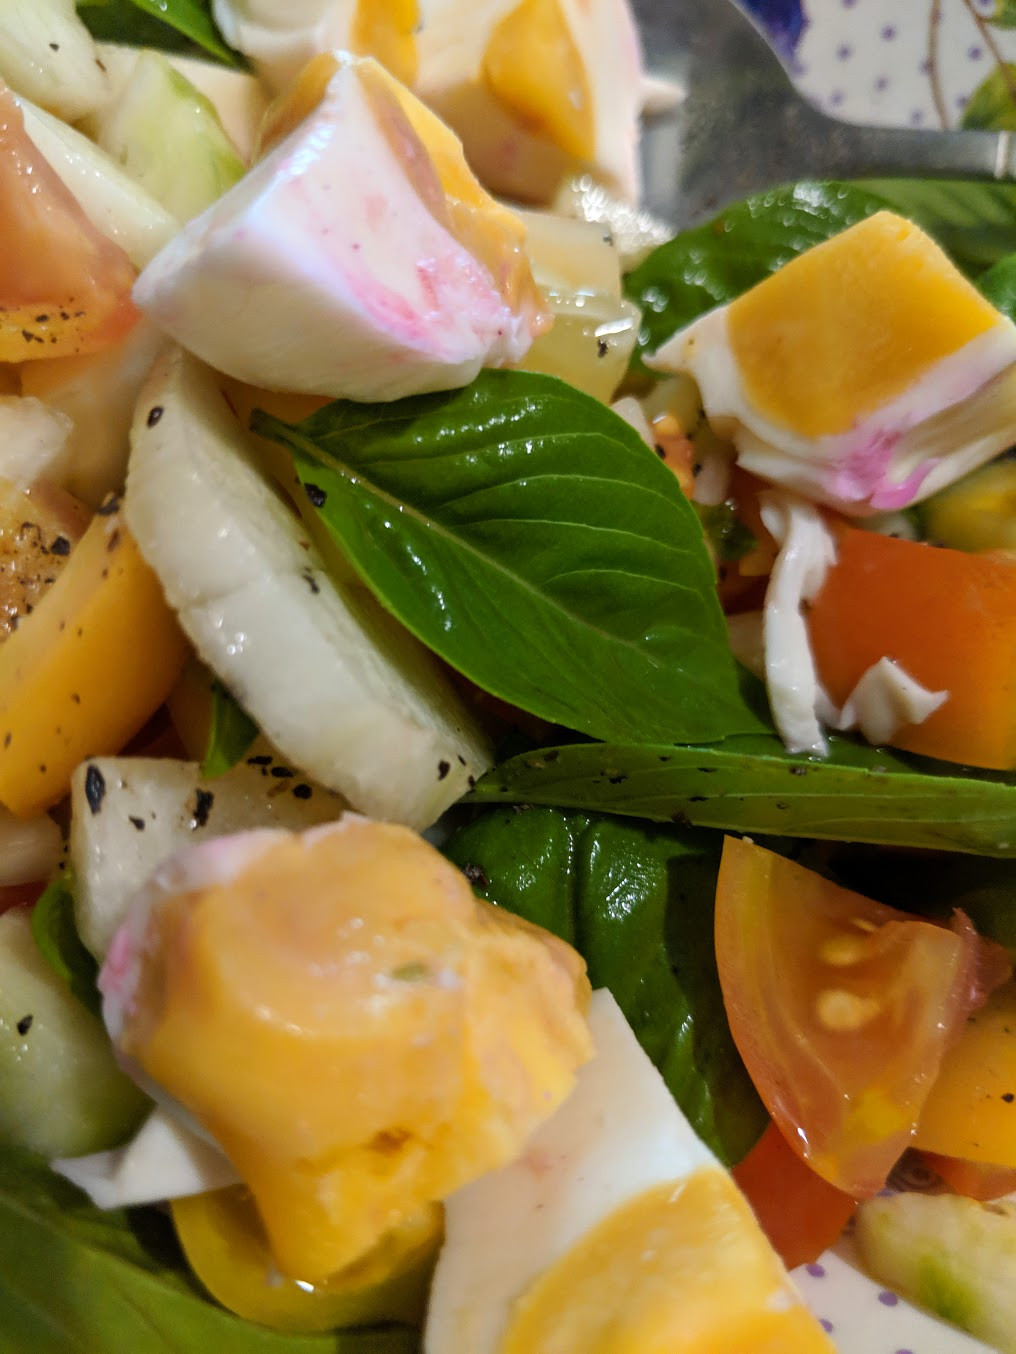
Finally, harvesting! Cut a handful leaves of the sweet basil then use it to garnish your morning omelettes, mouth-watering chicken steak, or your favorite pesto for a satisfying and healthy treat. Enjoy!


There you have it! Those are the cheap ways I did in planting my sweet basil. I hope this enlightens or inspires you that planting doesn’t have to be expensive – you just need to be creative. 😊 😊 😊
Happy Planting y’all